Introduction
To send a mail through a canvas app, you can use the connector Office365Outlook and function SendEmailV2().
Using this feature to send an email with some text and a fancy image is not necessarily challenging. What I do like to discuss is sending collections in tables.
Data model
In the following example, we are going to talk about questions that candidates can answer. Each answer has a question and an answer. Kiss 🙂
So when we can use our fancy Canvas App to collect data (store users with answers) we want to send all answers from 1 specific user. To do this we are first going to create a collection of all the answers of the selected user.
Now that we have a collection of our responses we can start using them to mail. There are several ways to do this. I am going to discuss some that may be useful.
					ForAll(
    Filter(
        Answers,
        UserId = galCandidates.Selected.ID
    ) As Answers,
    Collect(
        colAnswerSelectedCandidate,
        "<p>Question: " & Answers.Question & "</p>
        <p>Answer: " & Answers.Answer & " </p> <br>"
    )
);
List
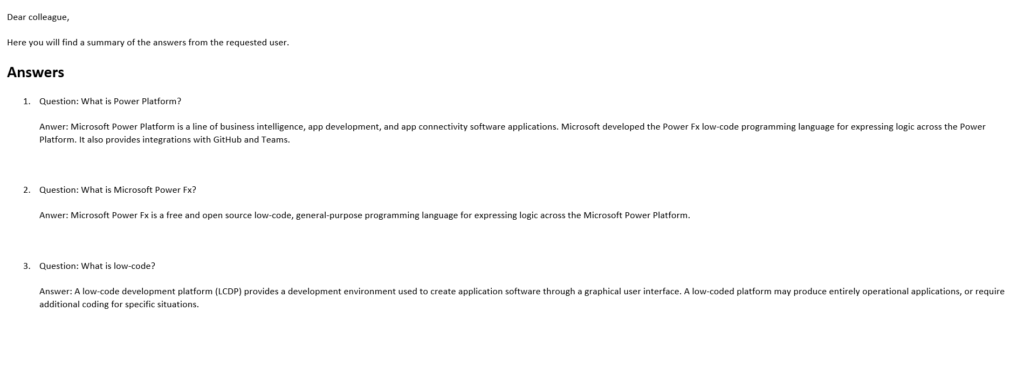
Now we are going to concatenate our collection with the appropriate html tags, this will make each answer a list item.
					   Office365Outlook.SendEmailV2(
    "yniasbensch@live.be",
    "Overview answers" & galCandidates.Selected.Name,

    "Dear colleague, <br> <br>" &
    "Here you will find a summary of the answers from the requested user.<br> <br>" &

    // Answers
    "<h2>Answers</h2>" & Char(10) &
    "<ol>" &
    Concat(colAnswerSelectedCandidate, "<li>" & Value,"</li>") &  Char(10) & Char(10) &
    "</ol>"
    );
This gives the following result:

Table
					   Office365Outlook.SendEmailV2(
    "yniasbensch@live.be",
    "Overview answers" & galCandidates.Selected.Name,

    "Dear colleague, <br> <br>" &
    "Here you will find a summary of the answers from the requested user.<br> <br>" &

    // Answers
    "<style>
    .tb { border-collapse: collapse; }
    .tb th, .tb td { padding: 5px; border: solid 1px #777; }
    .tb th { background-color: #f58220; }
    </style>


    <div class="pcrstb-wrap"><table class='tb' style='width:30%'>
    <tr>
        <th colspan='2'><h2>Answers</h2></th>
    </tr>" & Char(10) &
    "<ol>" &
    Concat(colAnswerSelectedCandidate, " <tr>" & Value,"</tr>") &  Char(10) & Char(10) &
    "</table></div>"

    );
This gives the following result:


